So let’s say you and your friend want to venture out and connect with a small group of people who carry the same interests as you. How do you take the first step in building your own community?
One of the more popular answers is online communities. Having online communities through real-time chat programs are an effective way to form online connections with other people.
Sometimes, we don’t always have the tools needed to build a community. That is why we made AirSend. With AirSend’s new feature of public channels, the possibilities are endless with your community
The latest and greatest feature to AirSend allows anyone to build their favorite communities.
AirSend’s public channels add all the features needed to help seamlessly run your community. Features, such as built-in actions, premium file organization, built-in wiki, and office integrations.
AirSend also offers a clean UI design, which makes the usability is incredibly easy.
The question is then, “How do I best set up my AirSend community?” In this blog post, we are going to show you how to make an AirSend public channel in five easy steps. Let’s dive in.
Create your Snazzy Channel
Before we can dive into the exciting part, we first need to get through the basics. This is the first and probably most important step before doing anything else.
This is a vital step because not only is it the gateway to creating your community, but this is also where you show your fellow members what your community is about.
As you can see from our lovely gif, creating a public channel is as easy as that! Here is also a mini-step guide for creating your public channel.
- Click on the large box that says, “Create a Channel”
- Make your Community name and description
- Checkmark the “make channel public.”
Now let’s get to the exciting parts.
Customize your Community!
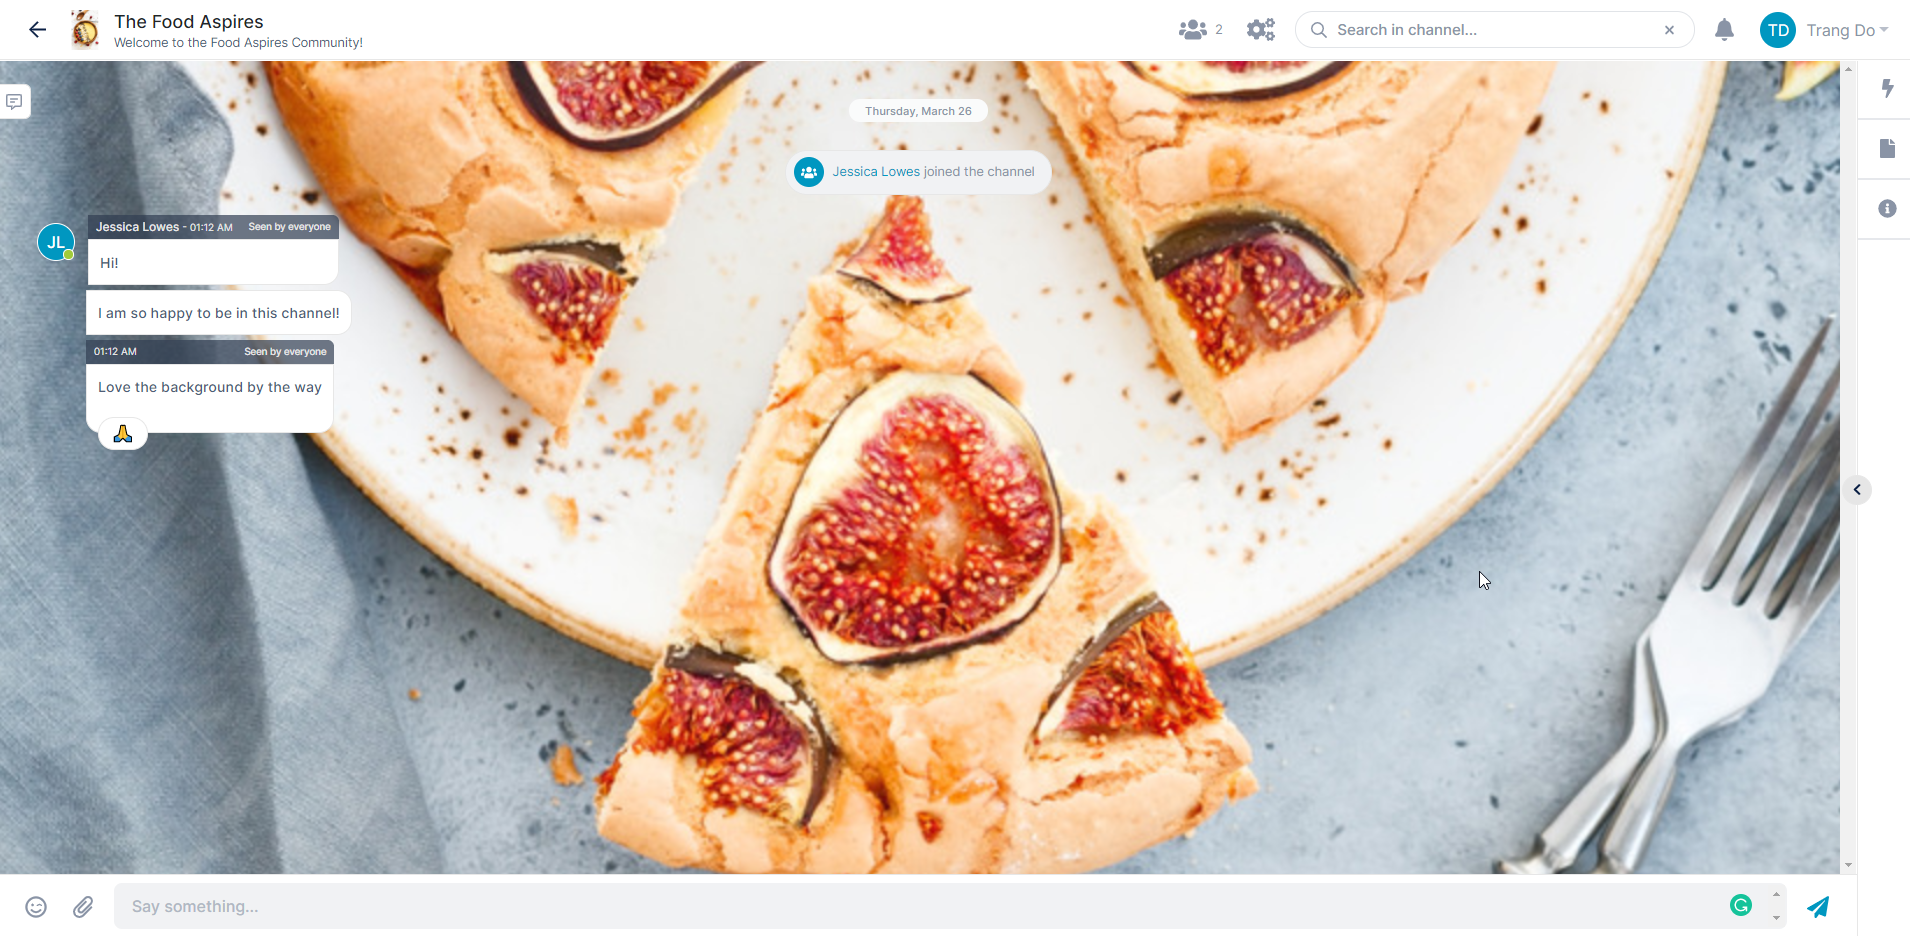
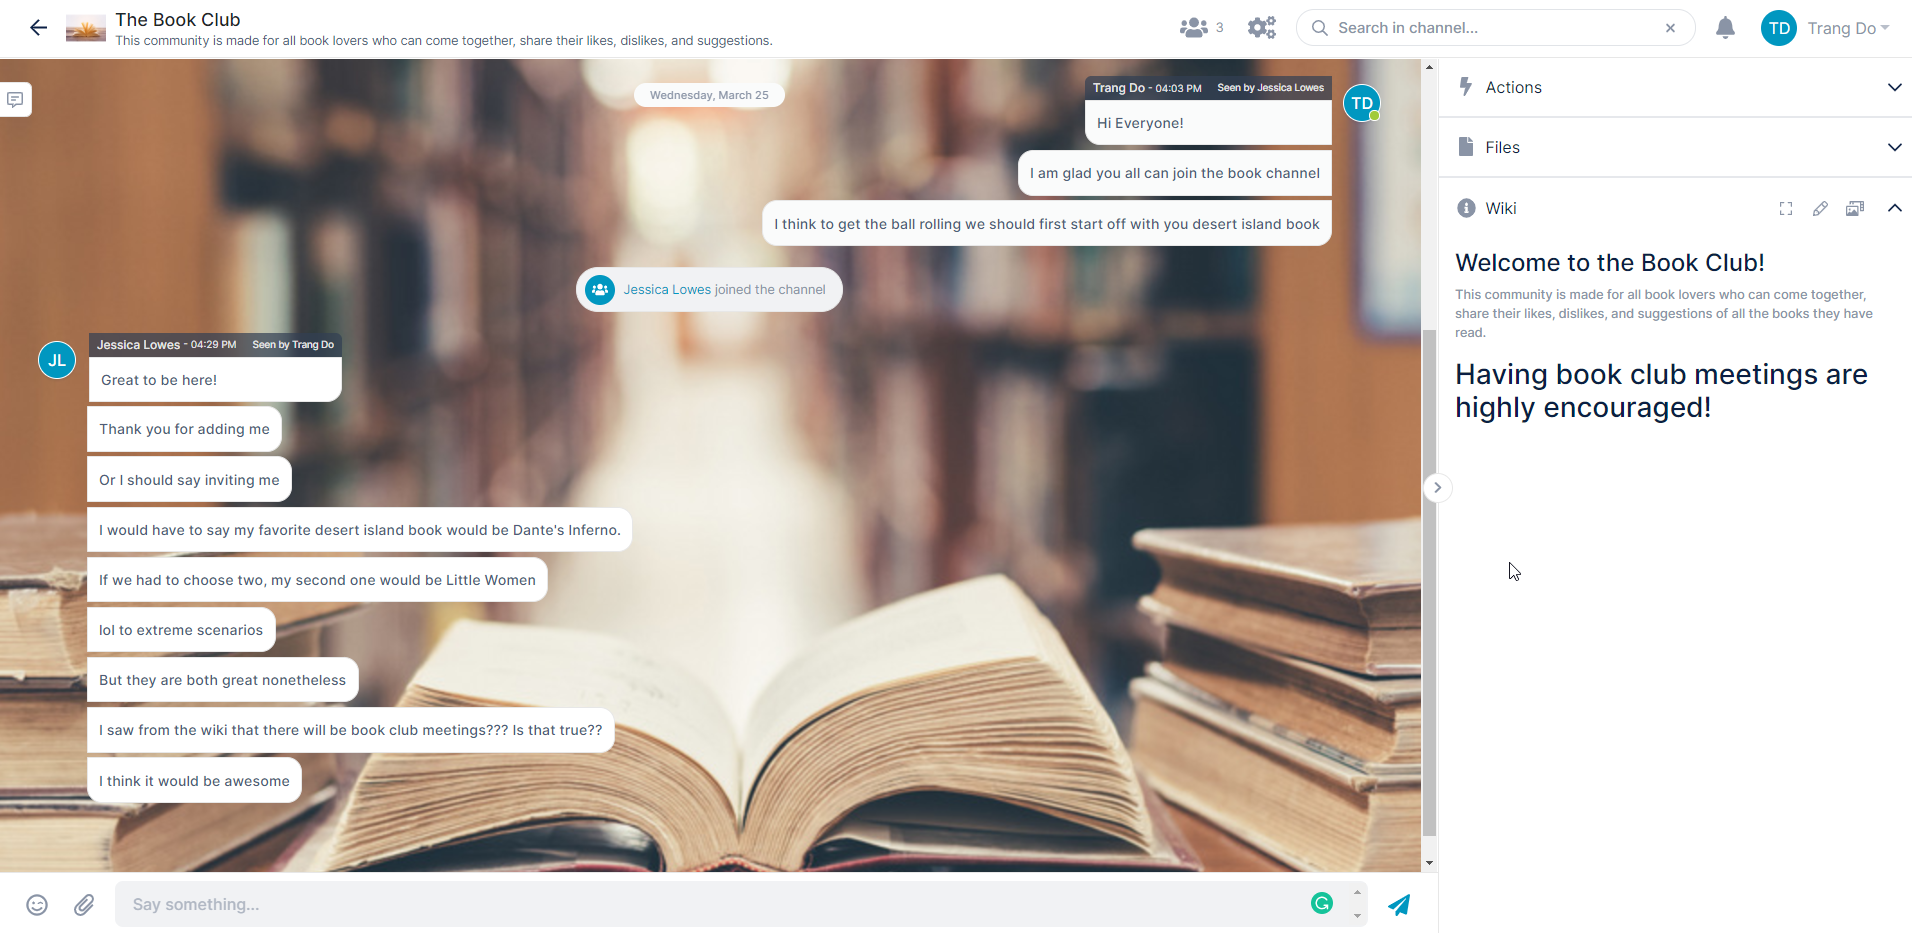
Customize your community however you want! Build your own wiki, change the background, and even change the logo. This is a great feature because when users set up their community with AirSend, they do not have overwhelming options for customizations.
Communities lie in connections being made. Having aesthetic features are extra steps to help you get there.
Copy Channel URL
That’s it! All you have to do is copy the public link (invite URL) found in your channel settings. Your channel settings is located at the top of the screen. After you have copied your link, send it to everyone you know. Anyone who has your public link can send it to other people as well.
The cool thing with AirSend public channels is that users will be able to see their community grow. Start connecting with people over AirSend. Take control of who you want in your community, and most importantly have fun with it. This next step will be for new members joining an AirSend community.
Explore your Future Community
For potential members, users will receive a public link address. Clicking on the public link address gives you a read-only view and the ability to download files. After exploring the contents, all you have to do is create an AirSend account and join your public channel.
Interact
Great! Now you have a complete step-by-step guide on how to make a community with AirSend. Get inspired and build connections.
For a full tutorial video look below!
Our goal with AirSend is to do less with more. Our mission is to be the #1 team chat tool for communities, professionals, and innovators. AirSend is a versatile digital workspace to share files, send messages, and complete tasks. See how AirSend can help you.
To see the latest updates to AirSend, read our blog post.
3 Replies to “How to Build your Online Community with AirSend”
Comments are closed.