
When we first started on our journey to create AirSend, our goal was simple: create a simple contextual workspace where people can get work done all in one place. Over the past year, we worked tirelessly: talking to customers and adding, removing, and refining features. We are happy to say that with the latest update, we have finally accomplished our original goal!
The latest AirSend update was a big one. We added many features that our customers asked for, including the ability to create website contact forms that link to AirSend, a Kanban view for Actions, the ability to group Channels, and more.
Here is a blog post talking about all of those exciting new features, as well as reviewing some lesser known things you may not have known were possible in AirSend.
Without further ado, here’s a tour of the new, most recently updated AirSend!
Simple AirSend Account and Channel Capabilities
Create a New Channel Using the Channel Sidebar
You can now make a new Channel by clicking the blue plus button on the upper left side of the sidebar. A window will pop up where you can name your Channel.
You can also write a description and choose a Channel template by clicking “Advanced.”
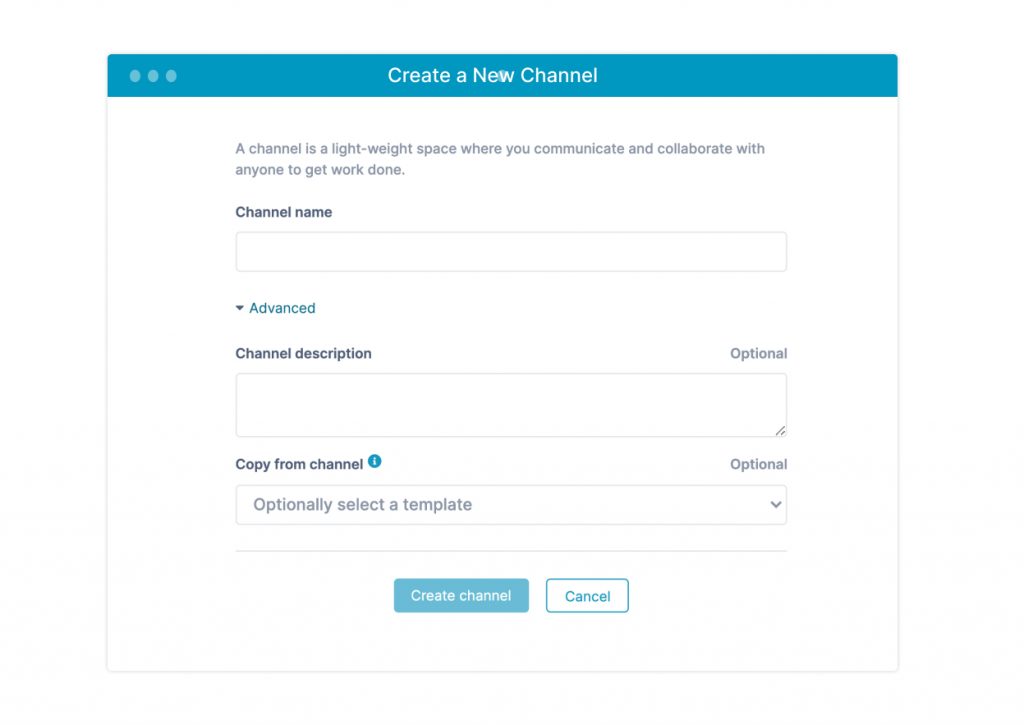
After clicking “Create Channel,” you will be taken to the inside of your new Channel.
Run a Comprehensive Search
Using the search bar in the upper right corner, run a comprehensive search of all messages, actions, files, and users in your Channel.
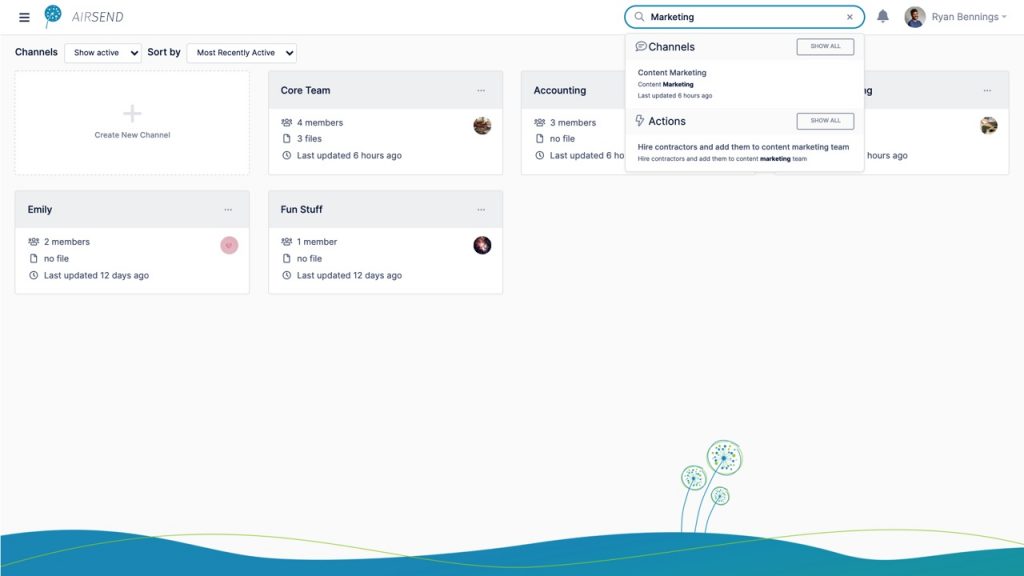
After you have run a search, you can click the “Show All” button at the top right of each search result category. A window will appear with a full view of all of your search results.
Switch Between Light and Dark Modes
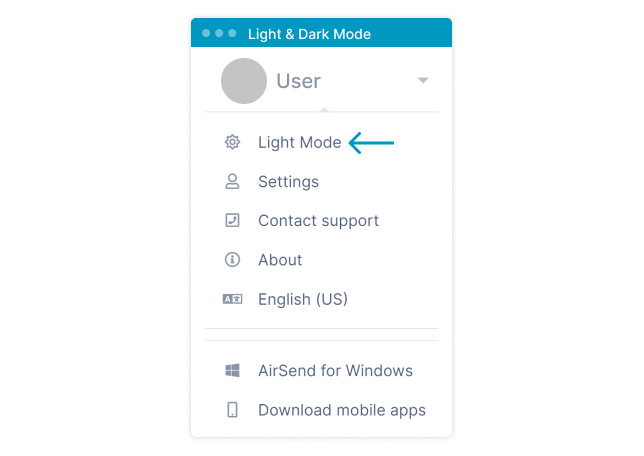
Click the profile name in the upper right corner to switch you between AirSend’s light and dark modes.
You can also choose “Auto Color Schema,” which will match AirSend to your preexisting settings.
Change Account Settings
You can also choose “Settings” in the same menu as above to see where to change the profile name, phone number, email notification frequency, and audio and video settings.
This is also where you can change your password, delete their account, or create a contact form to add to your website that links to AirSend Channels.
More AirSend Channel Capabilities
As you may already know, a Channel is where you can collaborate and get work done all in one place.
There are five main areas of a Channel: the Channel bar, the messaging space, the Actions tab, the Files tab, and the Wiki tab. Let’s explore these areas a little further to talk about what’s new.
The Messaging Space
The messaging space is the biggest, most prominent space in a Channel. This is where you can send and receive messages, photos, videos, documents, and more.
The Channel Bar
The Channel bar is on the left side of the Channel. This is where you can see a list of all of your Channels and direct messages with notifications.
You can also pin Channels, display Channels with a simplified or full view, and create new Channels or Channel groups here. You can click the highlighted icons to explore the bar’s capabilities.
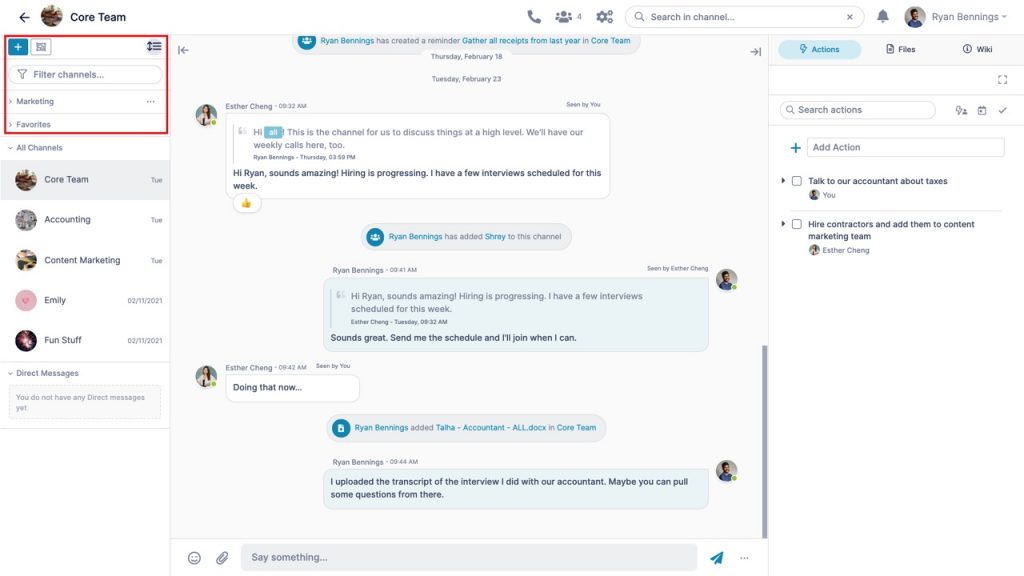
Finally, you can collapse or display the Channel bar using the wall and arrow icon next to it.
The Actions Tab
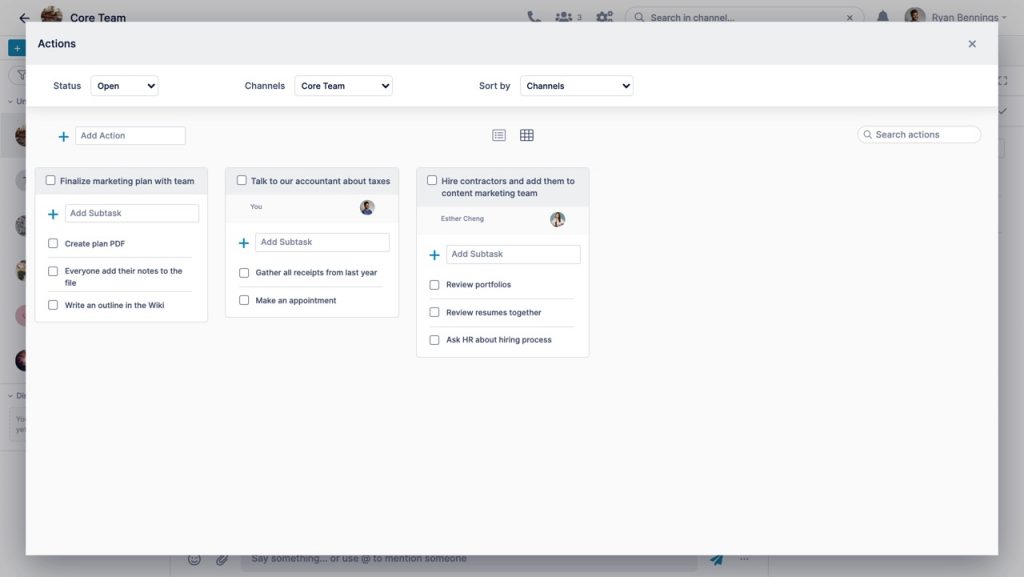
Now let’s look at the right side of a Channel. The first tab on the right side of a Channel is the Actions tab. We’ve made many highly requested updates to this tab, including a full Kanban view.
Create an action by typing something in the “Add Action” bar, then click the plus icon.
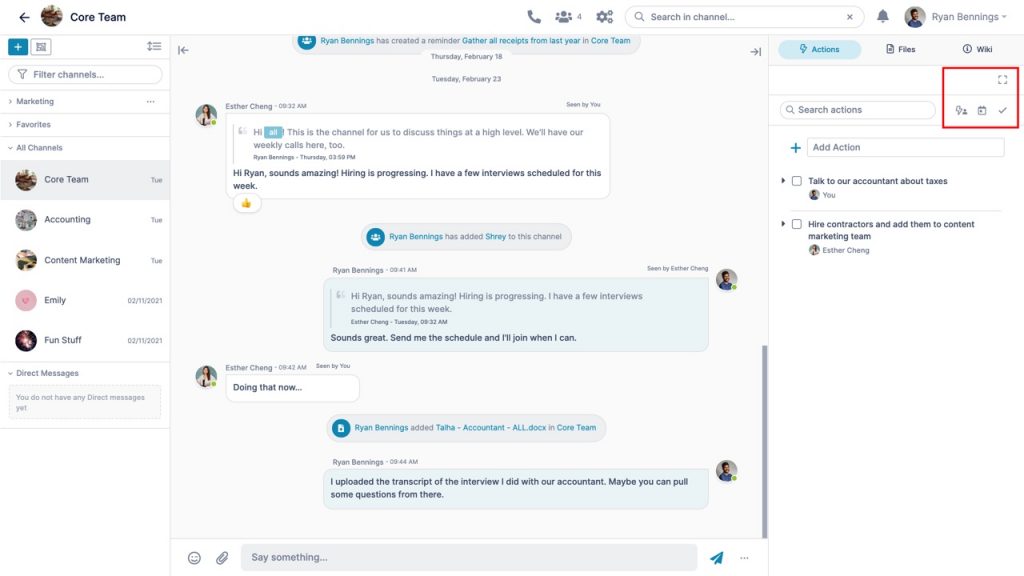
After creating an action, hover your cursor over the action to find the icons to create subactions, assign responsibility, and add a due date.
You can also move an action to another Channel, edit its details, or delete it.
After exploring what you can do to individual actions, click the four icons highlighted below to sort by person, date, and completion status, and to enter the full Kanban view.
The Files Tab
You can click the Files tab to see all of the files in the Channel. The three icons in the top right of the tab let you upload a file, enter a full Files view, and create or download folders.
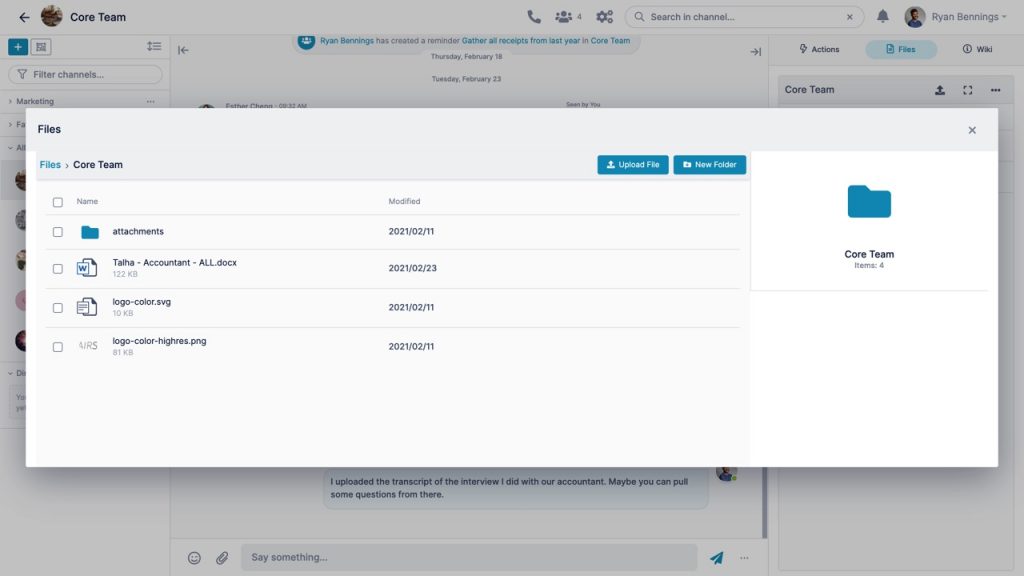
Now, click the three dots icon that appears when you hover your cursor over the file name and click “Share.” You can use the link that appears to share that file with someone else.
Quick reminder: AirSend provides automatic versioning, meaning it automatically updates and saves all versions of a file that you change and upload again.
To test this out, feel free to change any file you already uploaded and upload it again. Then, click the three dots icon that appears when you hover your cursor over the file name and click “Previous Versions” to see all versions of your file.
The Wiki Tab
Finally, we come to the Wiki tab. This is where you can take and keep notes. You can now click on the blue icon on the top left corner to see all existing pages.
Next, feel free to explore the three highlight buttons to share Wiki files, enter the Wiki full view, and edit the Wiki. We made some UI changes here to make your experience even smoother.
What’s Next in the AirSend Journey?
We hope you enjoyed the tour and are grateful for your time and interest! Although we’re proud of the progress we’ve made, the AirSend journey still has a long ways to go. Have any features in mind that you think would be great for AirSend? Let us know here.
If you don’t already have an account and would like to sign up for one, please visit:
www.live.airsend.io/signup
Thank you from the AirSend Team!